Monday, July 28, 2014

Knight knight

Knight Recipe

For our Castles of Europe Spanish Immersion camp, I need to scaffold some knight vocabulary before introducing the abridged version of Don Quixote. With this craft, I wanted to teach el caballero, el escudo, y la espada (knight, shield, and sword).  It's also a great opportunity to talk about a few shapes in Spanish. I had most of these supplies already in my kitchen, so it was super fast.  Thank you to Busy Bee Kid's Crafts for sharing these awesome knight and castle crafts. This was super easy and fun! 


Materials:
Aluminum foil 
Pipe cleaners (sword)
Feather
Card Stock 
Glue


Monday, July 21, 2014

Volcanos in Action

We could not do a rainforest expedition camp without learning about the volcanos of Costa Rica. So, I set out to make my own on Wednesday night. We spent Thursday learning about the volcanos and then decorating the ones I made. On Friday, the last day of camp, we finished off the volcanos with red paint (lava) and the final grand performance. 

If making this for a class, allow at least three days: one day to make them, one day to paint them, and another day to make them explode. 

Day 1: Make the volcano

Materials:
3/4 Cup salt
2 Cups flour
1/1/4 Cup of warm water
Plastic bottle
1 tablespoon olive, canola or vegetable oil
Wide tape (I used white duck tape)
Wood sticks (I used skewers)
Glue gun

Lava materials:
2 Cups of warm water
1 cup of white vinegar
Red food coloring
2 Tablespoons of dish soap
1 Cup of Baking Soda


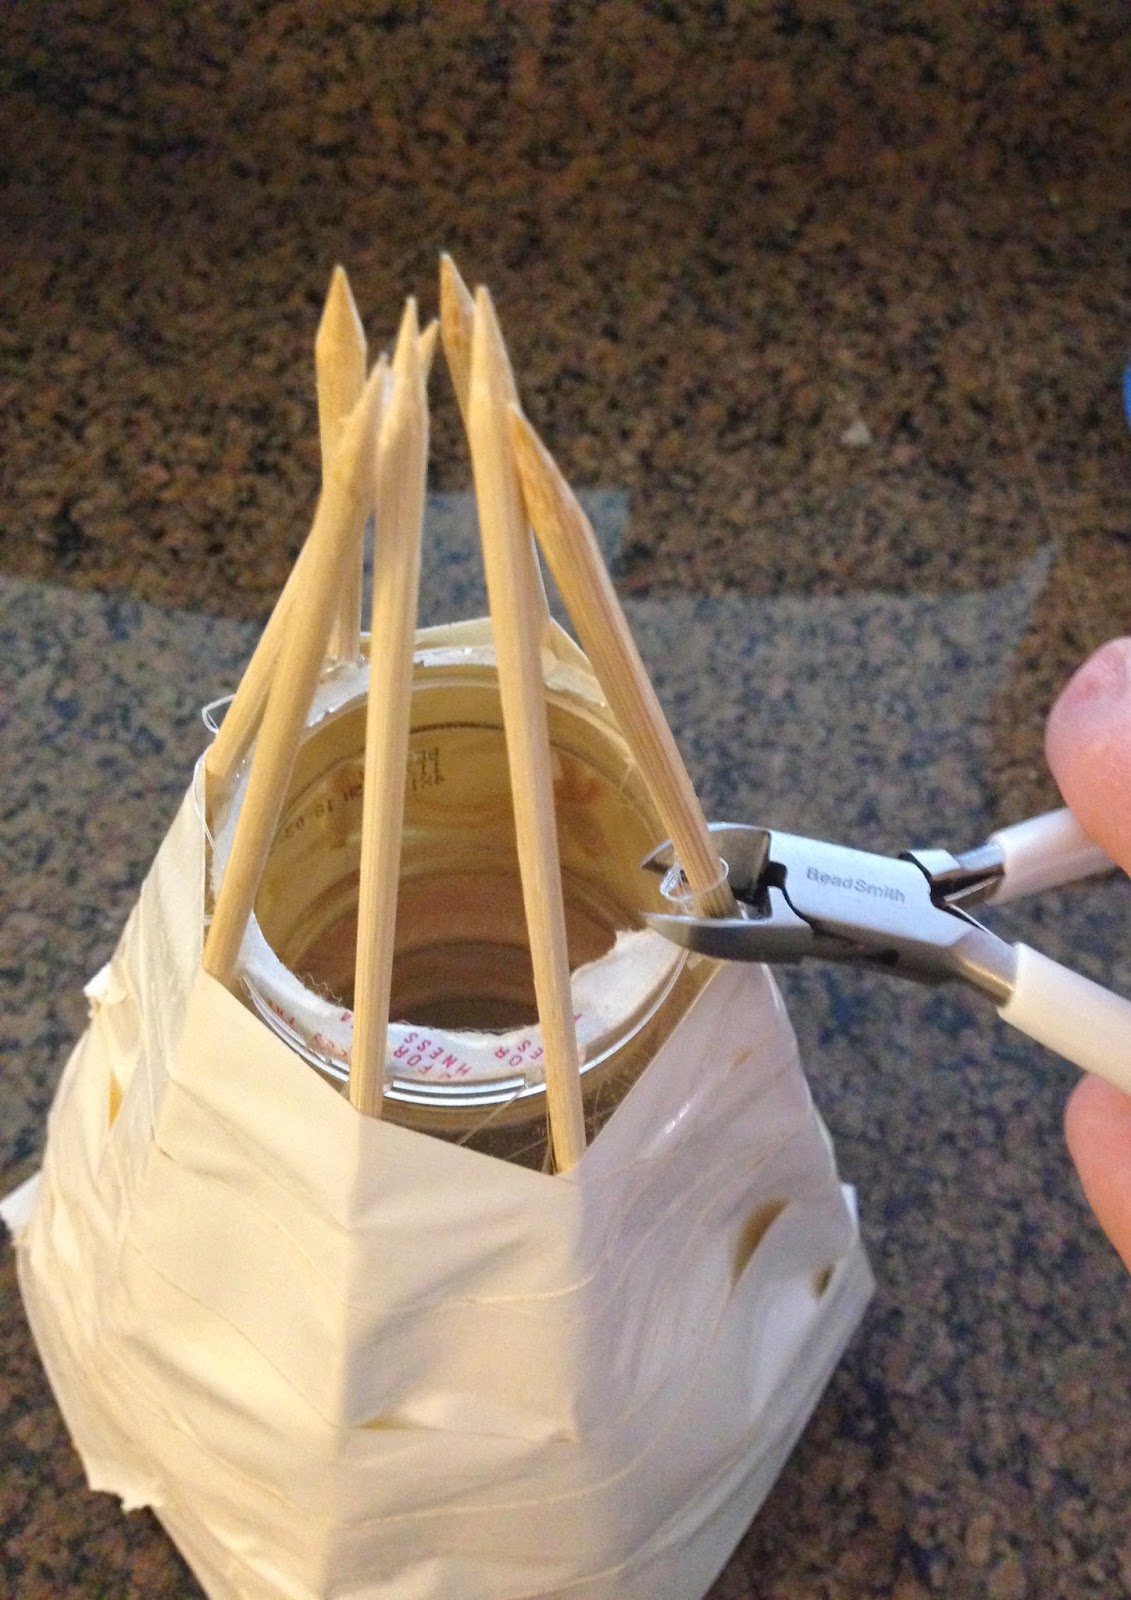
First, I glued the skewers against the plastic bottle in a teepee shape. I stuffed crumbled paper and stuffed it in the base to give it some stability.   Next, I cut off the skewers at the top, so the bottle opening would be open.


Mix the playdough:

Mix two cups of flour with 3/4 cup of salt.  In another bowl, mix one tablespoon oil with 1 and 1/4 cup of warm water.  Mix flour and water mixture together. You will eventually need to use your hands, as this mixture will be thick. Make golf size balls, flatten, and push onto volcano. Let dry overnight. 


The following day, the kids painted them, using fairly small brushes. I didn't want this part to be over immediately, so it took some time to paint them. They experimented with mixing different colors: brown, white, black. 


We allowed the volcanos to dry for one day. The next day, we took them outside and made them erupt.
To make them erupt, we added the plastic bottle inside of the volcano 3/4 of the way full with warm water. Then, I added added a few drops of dish detergent, red food dye, and about 1/2 cup of baking soda. Last, I slowly poured in the vinegar, and it slowly bubbled over. The children screamed and laughed with excitement. I let each child make it erupt, so they were very excited. I was just glad it worked!!


Tuesday, July 15, 2014

Mayan Temple / Pyramid Craft

This week, we are studying the Mayan Culture in our Mayan Mysteries camp. So far, it has been a blast! On day one of the camp, we focused on the religion of the Mayas. We learned a lot of new vocabulary in Spanish and a TPR motion to represent each one: gods, rain, sun, corn, hurricane, los mayas.  We pondered the disappearance of the Mayas and speculated on what happened to them. They learned to pick out Mexico, Honduras, Guatemala, and Belize on the map as well.  During outside time, we had rain races and rain games. So much fun!


Today, we focused on Architecture. At about 11:00 pm last night, I became inspired by something I found online and ended up with this! The vocabulary focus was templo, pirĂ¡mide, ruinas, sol, y piedras.  Today, it went over really well with the students. We focused on shapes: circle, square, and rectangle as each child described his/her temple. We reinforced counting and "yo tengo" as each child counted his/her 'piedras' and told the class, "yo tengo______piedras en mi templo."

The craft was super easy. I'll save you some time and tell you it works better if you have a bowl with some glue and paint it on the paper (we used donated wine corks for paintbrushes, thanks to our generous moms!), rather than on the back of the chex cereal. Here is the picture of the finished product. It was pretty wet when I shot this, but it dried up nicely (after I took the picture, lol).


Materials:

Chex cereal or Cinnamon Toast Crunch
Colored paper 
Glue
One piece of cardboard

The paper got rather heavy with so much glue, so I sprayed some spray glue on the back and stuck to a piece of cardboard to give it some strength.

Here is the finished project!